


Price: $25.49
(as of Apr 06, 2025 10:27:02 UTC - Details)
The Best Way to Apply Press-On Nails: A Comprehensive Guide
Introduction
Are you tired of spending hours at the nail salon? Do you want beautiful nails without the commitment of traditional manicures? If so, press-on nails may be the perfect solution for you! In this guide, we’ll explore the best way to apply press-on nails, ensuring you achieve a flawless look every time. Press-on nails are not only convenient but also come in a variety of styles, colors, and lengths, making them an ideal choice for any occasion. By following our expert tips and techniques, you can master the art of applying press-on nails and enjoy salon-quality results at home.
Understanding Press-On Nails
What Are Press-On Nails?
Press-on nails are pre-made nail extensions that can be easily applied to your natural nails using adhesive. They come in various designs, including solid colors, intricate patterns, and even 3D embellishments. Unlike gel or acrylic nails, press-on nails are temporary, making them a great option for those who like to switch up their look frequently.
Why Choose Press-On Nails?
Choosing press-on nails offers several benefits. They are cost-effective, easy to apply, and can be removed without damaging your natural nails. Plus, they often take just minutes to apply, saving you time and money compared to salon visits. With an array of styles available, you can express your personality and adapt your nails to any occasion, from casual outings to formal events.
The Best Way to Apply Press-On Nails
Step 1: Gather Your Supplies
Before applying press-on nails, gather all necessary supplies. You will need:
- A set of press-on nails
- Nail file
- Nail polish remover (if needed)
- Alcohol wipes or nail prep pads
- Nail glue (if the press-ons don’t come with adhesive)
Having everything ready will make the application process smoother and more enjoyable.
Step 2: Prepare Your Natural Nails
Proper preparation is key to ensuring your press-on nails adhere well. Start by removing any old nail polish with nail polish remover. Next, gently push back your cuticles and file your nails to your desired shape. Buff the surface of your nails lightly to create a better grip for the press-on nails. Finally, clean your nails with alcohol wipes to remove any oils or residue.
Step 3: Choose the Right Size
Choosing the right size for your press-on nails is crucial for a comfortable fit. Most press-on nail sets come with multiple sizes to accommodate different nail beds. Test the press-on nails by placing them on your natural nails. They should fit snugly without overlapping your skin. Take your time to find the perfect match for each finger.
Step 4: Apply the Nails
Now it’s time for the fun part! If your press-on nails come with adhesive tabs, peel off the backing and place the nail on your natural nail. Press down firmly for about 10 seconds to ensure a strong bond. If you’re using nail glue, apply a small amount to the press-on nail and your natural nail before pressing them together. Again, hold for about 10 seconds to secure the nail in place.
Step 5: Finishing Touches
Once all your press-on nails are applied, take a moment to assess the overall look. If needed, use a nail file to shape the tips or smooth out any rough edges. You can also apply a top coat for added shine and durability. This will not only enhance the appearance of your nails but also help them last longer.
Tips for Maintaining Your Press-On Nails
Keep Them Clean
To maintain your press-on nails, it’s important to keep them clean. Wash your hands regularly and avoid using harsh chemicals that can damage the adhesive. If you notice any lifting, gently press the nail back down and use a little extra glue if necessary.
Avoid Excessive Moisture
While press-on nails are durable, excessive moisture can weaken the adhesive. Try to avoid prolonged exposure to water, especially when washing dishes or swimming. If you need to use your hands in water, consider wearing gloves to protect your nails.
Remove Them Carefully
When it’s time to remove your press-on nails, do so carefully to avoid damaging your natural nails. Soak your nails in warm, soapy water for a few minutes to loosen the adhesive. Gently lift the edges of the press-on nails with a wooden stick or your fingers. If they resist, don’t force them off; soak them a bit longer.
Conclusion
In conclusion, applying press-on nails is a fantastic way to achieve beautiful nails without the hassle of salon visits. By following the steps outlined in this guide—gathering your supplies, preparing your natural nails, choosing the right size, applying the nails, and maintaining them—you can enjoy a stunning manicure that’s both easy and affordable. Remember, practice makes perfect, so don’t hesitate to experiment with different styles and techniques. With the right approach, you’ll be able to master the best way to apply press-on nails and enjoy beautiful, salon-quality nails from the comfort of your home. Happy nail styling!
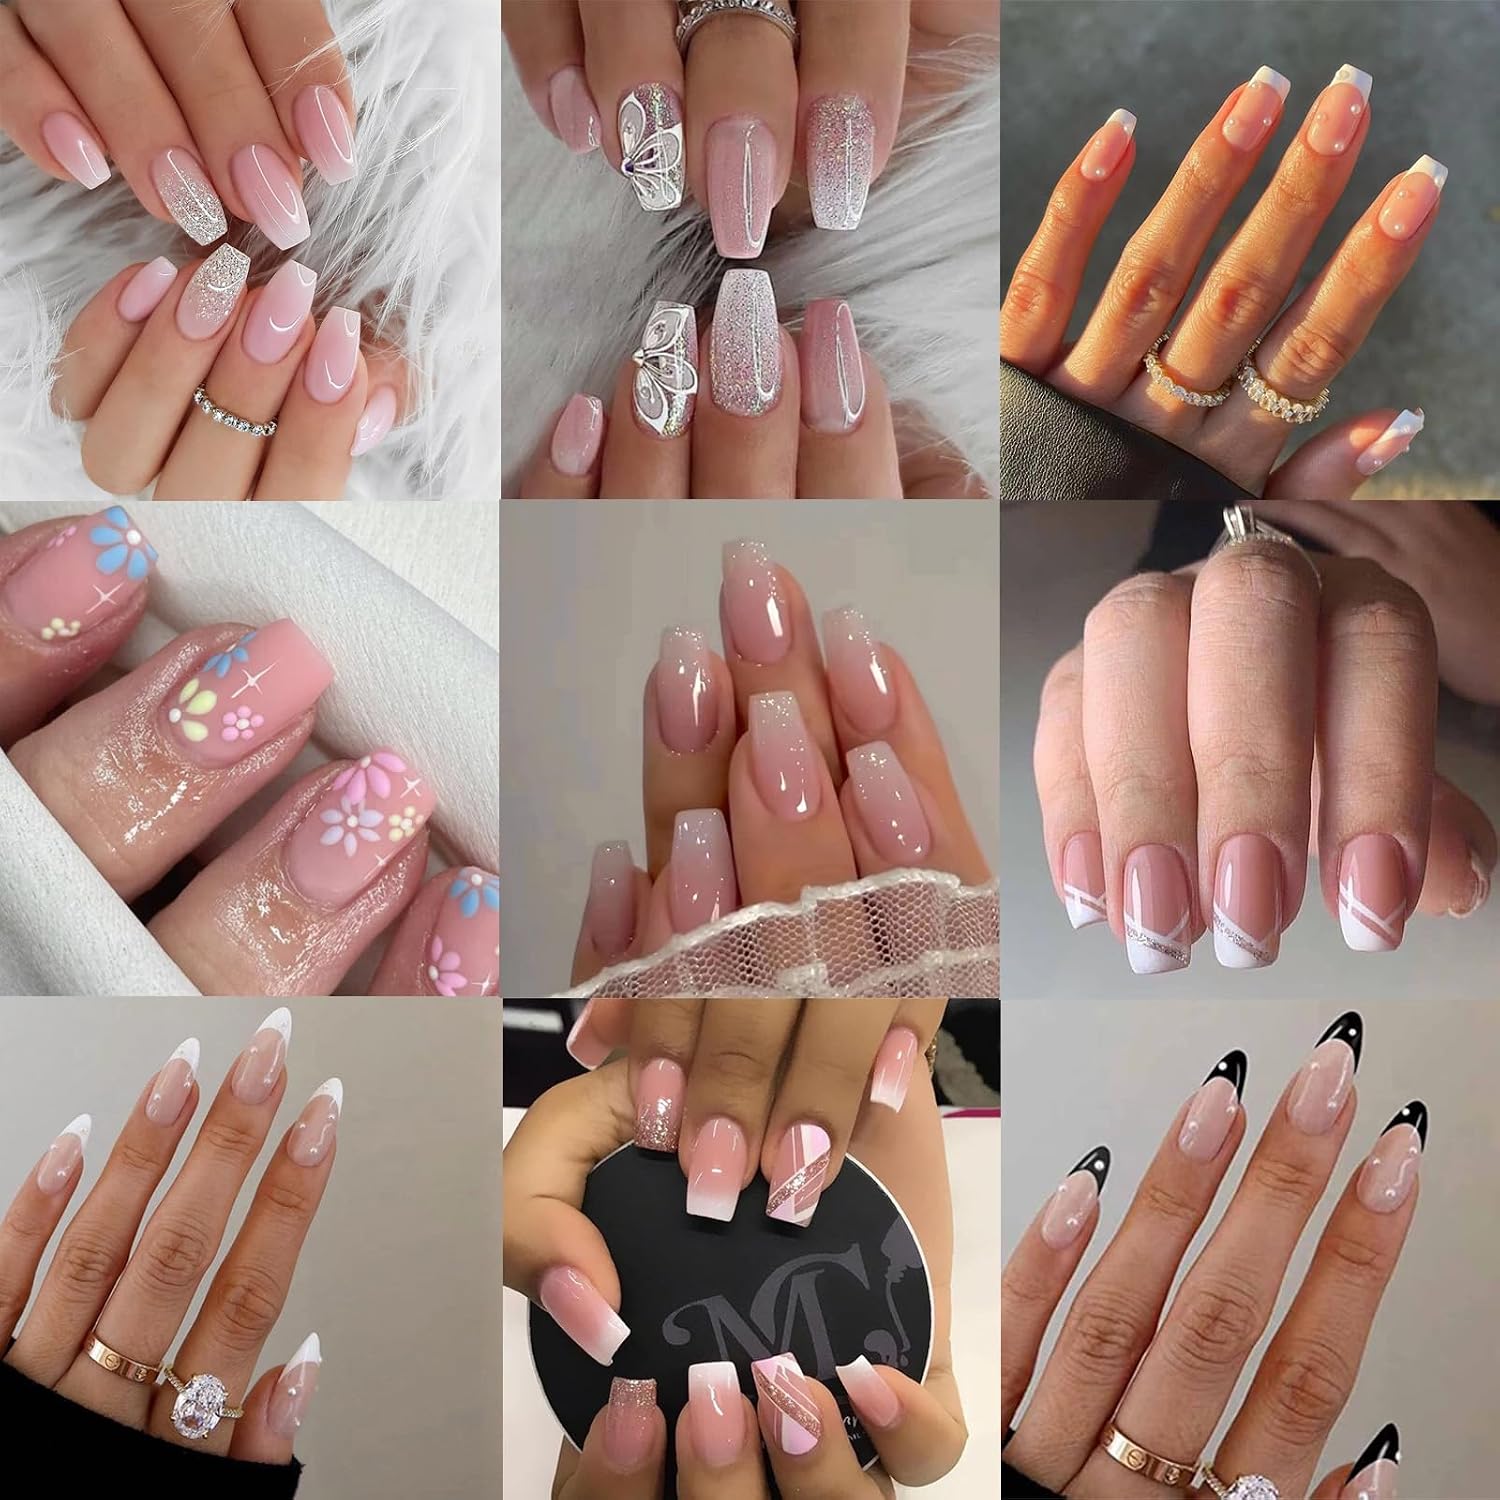
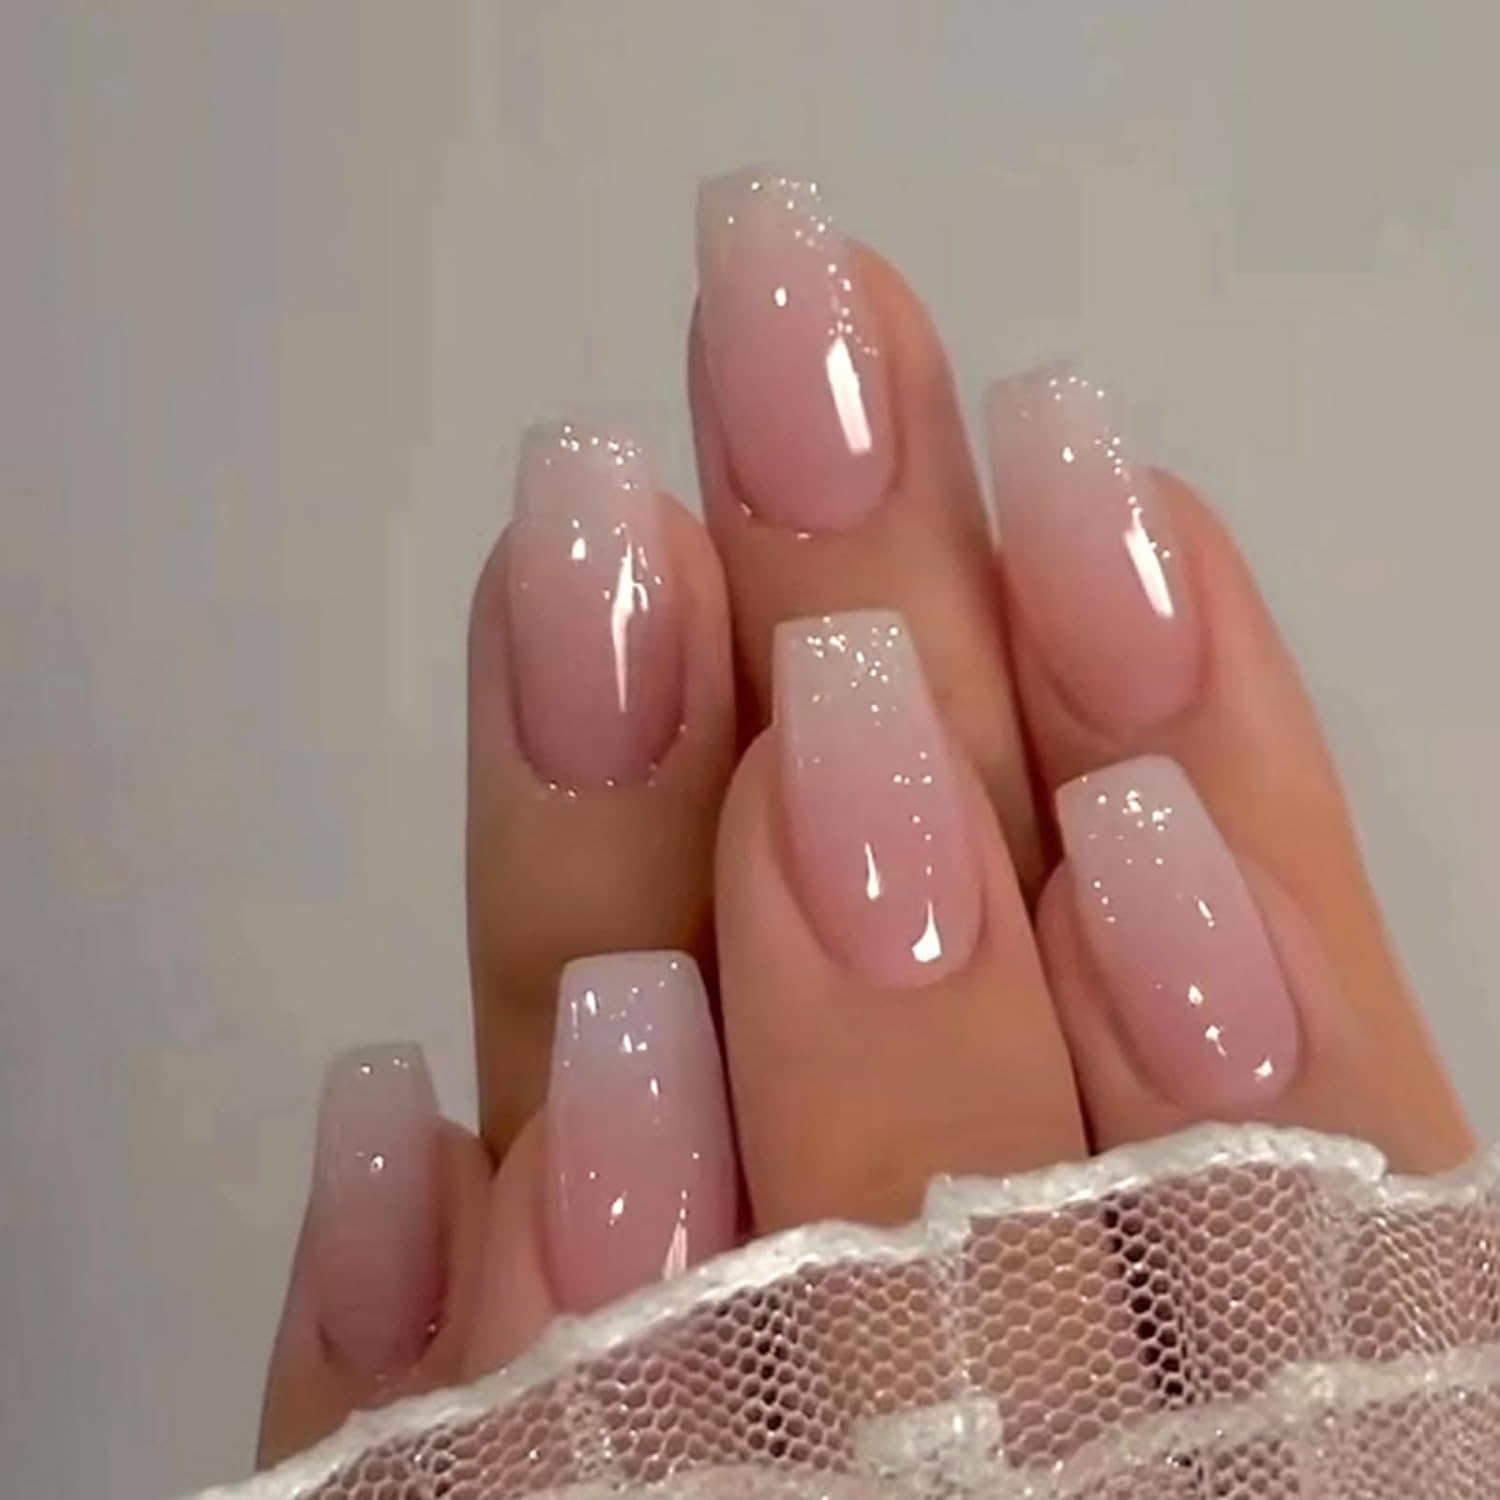
Expressing Personality: Jsiallye Nail art can express your personality and artistic creativity. You can showcase your nail art by choosing different styles and patterns.
Nail Set: There are a total of 9 styles, 216 pieces, each with 12 different sizes, ensuring a perfect fit to your nail shape.
Substitute for salon nails: Jsiallye Fashion press on nails can be used at home without professional technology. It provides various styles, colors, sizes and styles, so that you can enjoy salon quality gel nails in a short time.
Reusable: The nail plate can be worn and removed at any time, which is very convenient. The duration of maintaining the effect varies with the use of different adhesives. This reusable nail set can be trimmed, filed, or polished according to your preferences.
Service: You don't have to worry about after-sales issues, we provide 24-hour customer support. You can contact us via email. We provide the best products and services for everyone.